Long Island sits directly in the path of some of the most punishing weather on the East Coast. Nor'easters barrel in from the Atlantic every winter. Summer thunderstorms bring straight-line winds that exceed 70 mph. And hurricane season, which runs from June through November, delivers the kind of sustained wind and rain that can peel an entire roof surface in minutes. When a storm damages your roof, the clock starts ticking immediately. Water intrusion can begin within hours, destroying insulation, drywall, framing, and personal belongings. Knowing exactly what to do in the first 24 to 48 hours after storm damage can save you tens of thousands of dollars and months of headache.
This guide covers every step Long Island homeowners need to take after storm damage, from the moment the storm passes to the day your roof is fully restored.
The First 30 Minutes: Safety First
Before you even look at your roof, make sure everyone in your household is safe. Storms can leave behind hazards that are not immediately obvious:
- Downed power lines. If you see a downed line anywhere on your property, stay inside and call PSEG Long Island at 1-800-490-0075. A wire on your roof or in your yard can electrify the ground and anything it touches.
- Structural instability. If a tree has fallen through your roof or you hear creaking and cracking, evacuate the area beneath the damage. A compromised roof structure can collapse under the weight of water-soaked insulation and debris.
- Gas leaks. If you smell gas, leave immediately and call National Grid. Storm impacts can crack gas lines connected to furnaces, water heaters, and stoves.
- Standing water near electrical panels. If your basement or utility area has flooded and water is near electrical panels or outlets, do not enter until the power is shut off at the main breaker.
Once you have confirmed that everyone is safe and there are no immediate life-threatening hazards, you can begin assessing the damage.
Licensed & Insured
Full coverage on every project
36+ Cities Served
Suffolk County & Long Island
Same-Day Emergency
Fast response when you need it
Step 1: Document the Damage Thoroughly
Before you touch anything, clean anything up, or make any temporary repairs, document every piece of damage. This documentation becomes the foundation of your insurance claim and can mean the difference between full coverage and a denied or underpaid claim.
Here is exactly what to capture:
- Exterior photographs. Walk the perimeter of your home and photograph missing shingles, cracked siding, dented gutters, broken windows, damaged flashing, and any debris (fallen branches, shingle fragments on the ground). Take both wide-angle shots that show the full side of the house and close-up detail shots of specific damage points.
- Interior photographs. Check every room on the top floor and the attic. Look for water stains on ceilings, wet drywall, dripping water, buckled flooring, and damaged personal property. Photograph everything.
- Video walkthroughs. Shoot a slow, narrated video walking through each damaged area. Describe what you see as you film. Video is harder for adjusters to dismiss than individual photos.
- Timestamps. Make sure your phone's date and time stamps are enabled. These prove the damage occurred during the storm event, not weeks or months later.
- Written notes. Jot down the date and approximate time the storm hit, the weather conditions (wind speed if you know it, hail size, duration of heavy rain), and a description of each damaged area.
This initial documentation is critical. Once you start making temporary repairs, the original state of the damage is lost forever. Take the time to do this right.
Roof damaged by a storm?
Call (631) 312-7441 for same-day emergency response.
Step 2: Emergency Tarping and Temporary Repairs
Your homeowner's insurance policy includes a clause called the duty to mitigate. This means you are legally required to take reasonable steps to prevent further damage to your property after an incident. If a storm blows shingles off your roof and you do nothing while rain continues pouring in for days, your insurer can deny coverage for the secondary water damage.
How Professional Roof Tarping Works
Emergency roof tarping is not just throwing a blue tarp over the damage. Proper tarping involves:
- Assessing the extent of damage. A contractor identifies every compromised area, not just the obvious holes. Wind can lift shingle tabs without tearing them off, creating entry points for water that are invisible from the ground.
- Selecting the right tarp size. The tarp must extend at least four feet beyond the damaged area on all sides. Undersized tarps channel water to the edges and can actually concentrate leaks.
- Securing with furring strips. Professional tarping uses 2x4 or 1x3 furring strips screwed into the roof deck through the tarp. This prevents wind from lifting the tarp, which is the number one failure point of DIY tarping. Simple weighting with bricks or sandbags does not work in Long Island wind conditions.
- Sealing edges. The ridge-side edge of the tarp is tucked under existing shingles where possible. The eave-side edge extends past the drip edge to direct water into the gutter system.
Professional emergency tarping typically costs between $300 and $1,500 depending on the size of the damaged area and roof accessibility. This cost is almost always reimbursable through your insurance claim. Keep all receipts.
What You Can Do Safely From Inside
While waiting for a contractor, there are steps you can take indoors to minimize water damage:
- Place buckets, bins, or trash cans under active drips.
- Move furniture, electronics, and valuables away from wet areas.
- If water is pooling on a ceiling and creating a bulge, poke a small hole in the center of the bulge to relieve the pressure. This prevents a large section of drywall from collapsing under the weight.
- Run fans and a dehumidifier in affected rooms to begin drying. Mold can start growing within 24 to 48 hours in warm, humid conditions.
- If the leak is near electrical fixtures, turn off the circuit breaker for that area.
Get Emergency Roof Help
Tell us about the damage — we respond within hours.
No spam. No obligation.
Step 3: Contact Your Insurance Company
Call your insurance company as soon as possible after securing the property. Most homeowner's policies require prompt notification of damage. Delays beyond a few days can give the insurer grounds to question or deny your claim.
When you call, have this information ready:
- Your policy number
- Date and approximate time the damage occurred
- A general description of the damage (roof, siding, interior water damage, etc.)
- Whether the property is still habitable
- Whether you have made any emergency repairs (tarping, boarding up windows)
Your insurer will assign a claim number and schedule an adjuster visit. After major storms on Long Island, adjusters can be backed up for one to three weeks. Do not wait for the adjuster before making emergency repairs — your duty to mitigate takes precedence, and the cost of emergency work is reimbursable.
For a detailed walkthrough of the entire claims process, read our guide on how to file a roof insurance claim on Long Island.
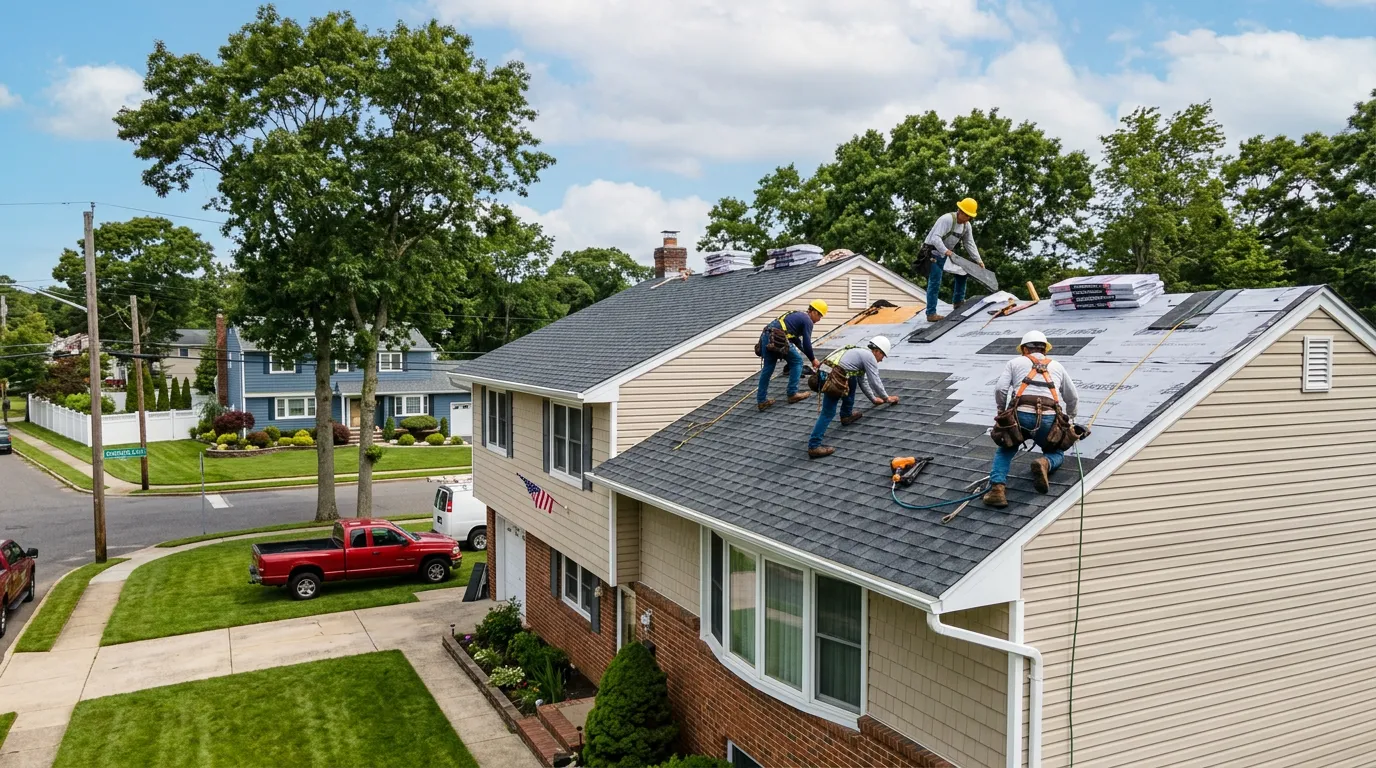
Step 4: Get a Professional Contractor Inspection
Before the adjuster arrives, have a licensed contractor inspect your property. This is one of the most important steps in the entire process, and one that most homeowners skip.
A professional inspection matters because:
- Contractors find hidden damage. Wind can compromise shingles without visibly tearing them. Hail creates dents in metal flashing that lead to slow leaks. Water can travel along rafters and appear as a stain 15 feet away from the actual entry point. A trained eye catches what homeowners and sometimes even adjusters miss.
- A detailed contractor report strengthens your claim. At Alec's Construction, our storm damage inspections include photographs, measurements, and a written scope of work that lists every repair needed. When your adjuster sees a professional, itemized report, they take the claim more seriously.
- Contractors know current building codes. Suffolk County building codes have evolved significantly. When storm damage triggers a roof replacement, the building department may require upgrades — ice-and-water shield at eaves, proper ventilation ratios, improved fastener schedules. These code-required upgrades should be included in your insurance claim, and a knowledgeable contractor will make sure they are.
At Alec's Construction, we provide free storm damage inspections for Long Island homeowners. We have handled hundreds of insurance restoration projects across Suffolk County and know exactly what adjusters need to see to approve a claim at full value.
Need a free storm damage inspection?
We document everything your adjuster needs to see.
Step 5: Meet with the Insurance Adjuster
When the adjuster arrives, be present and have your contractor present if possible. The adjuster works for the insurance company. Their job is to assess the damage and determine the payout. Having your own contractor there ensures all damage is identified and valued correctly.
Your contractor can:
- Walk the adjuster through every damage point identified in the inspection report
- Explain why specific repairs are necessary and what the local building code requires
- Provide a detailed estimate in a format the adjuster recognizes (Xactimate is the industry standard)
- Identify supplemental items that the adjuster may not initially include, such as drip edge replacement, attic insulation that was compromised by water, or soffit and fascia damage
If the adjuster's initial estimate comes in lower than your contractor's assessment, that is not the end of the conversation. Your contractor can submit a supplement — a formal request for additional coverage with supporting documentation. This is standard practice in insurance restoration work, and experienced contractors handle it regularly.
Common Types of Storm Damage on Long Island Roofs
Understanding the type of damage helps you communicate with both your insurance company and your contractor:
Wind Damage
Long Island regularly experiences winds exceeding 60 mph during storms. Wind lifts shingles from the tab edge, breaking the seal strip that holds them down. Once a shingle is lifted, it can crack, fold, or tear off entirely. Even shingles that resettle after the wind dies may have broken seals that will fail in the next storm. Wind damage is often worst on the windward side of the roof and at corners, ridges, and edges where uplift pressure is greatest.
Hail Damage
Hail on Long Island typically ranges from pea-sized to golf-ball-sized. Even small hail can dent metal flashing, crack shingle surfaces, and knock loose protective granules. Hail damage on asphalt shingles often appears as dark spots where the granule layer has been knocked away, exposing the asphalt underneath. This accelerates UV degradation and shortens the roof's remaining lifespan.
Fallen Tree and Debris Impact
Long Island has mature tree cover — oaks, maples, and pines that can be 60 to 80 feet tall. In high winds, branches or entire trees can come down on roofs, puncturing through the shingles, underlayment, and decking. Even a large branch impact can crack rafters and create a structural issue that is not visible from outside.
Water Intrusion From Driving Rain
Long Island nor'easters bring sustained rain driven by 40 to 60 mph winds. This driving rain can penetrate seams, flashings, and vent boots that are perfectly adequate in vertical rain but fail when water is pushed sideways. Homes near the coast — from the South Shore bay communities to the North Shore harbors — experience the worst driving rain conditions.
How to Choose an Emergency Roofing Contractor on Long Island
After major storms, Long Island sees an influx of out-of-state "storm chasers" — contractors who follow severe weather, knock on doors, offer low prices, and disappear after collecting insurance payments. Here is how to protect yourself:
- Verify licensing. In New York State, home improvement contractors must be registered. In Suffolk County, they need a Suffolk County Home Improvement License. Ask for the license number and verify it.
- Confirm insurance. Request a Certificate of Insurance showing general liability and workers' compensation coverage. A legitimate contractor will provide this without hesitation.
- Check local presence. Does the contractor have a permanent local address, not just a P.O. box? Are they listed on Google with local reviews? A contractor based in Long Island will be here to honor warranties and handle follow-up issues.
- Get a written estimate. Never agree to work based on a verbal price. A professional estimate should include the scope of work, materials, timeline, and total cost.
- Never pay the full amount upfront. Legitimate contractors take a deposit (typically 10-30%) with the balance due upon completion. Any contractor demanding full payment before starting work is a red flag.
- Ask about insurance claim experience. A contractor who regularly handles insurance restoration work knows how to write estimates in adjuster-accepted formats, how to submit supplements, and how to communicate with your insurance company on your behalf.
As a Latinx-owned, licensed and insured contractor based in East Patchogue, Alec's Construction has deep roots in the Long Island community. Owner Alex Fuentes personally oversees every project and is available at (631) 312-7441. We are not going anywhere — we have been here and we will be here long after the storm chasers leave.
Ready to get started?
Free walkthrough — no obligation, no pressure.
What Happens After Emergency Repairs
Emergency tarping and temporary fixes buy you time, but they are not permanent solutions. Once the immediate crisis is handled, the timeline typically looks like this:
- Insurance adjuster visit (1-3 weeks after the storm). The adjuster inspects the damage and produces an estimate.
- Claim approval and first payment (1-2 weeks after adjuster visit). You receive the actual cash value (ACV) of the repair minus your deductible.
- Permanent repair work (1-5 days for most roof repairs; 1-2 weeks for full replacements). Your contractor completes the restoration using materials and methods that meet or exceed the original installation.
- Final documentation and second payment. After repairs are complete, your contractor submits final photos and documentation. The insurance company then releases the recoverable depreciation — the holdback amount that brings the total to the replacement cost value (RCV).
This is why choosing a contractor who understands insurance billing is essential. If the contractor does not submit proper completion documentation, you may never receive that second check, which can represent 20 to 40 percent of the total claim value.
Preparing for the Next Storm
Once your roof is restored, take these steps to reduce the impact of future storms:
- Schedule annual roof inspections. Catching a cracked flashing or lifted shingle tab before a storm hits prevents the kind of catastrophic failure that leads to emergency repairs.
- Trim trees within 10 feet of your roof. Overhanging branches are the number one source of impact damage during storms.
- Clean gutters twice a year. Clogged gutters cause water to back up under shingles at the eave, creating ice dams in winter and rot year-round.
- Review your insurance policy annually. Make sure your coverage limits reflect current replacement costs, which have increased significantly on Long Island due to material and labor cost inflation.
- Keep your contractor's number saved. When the next storm hits, you do not want to be searching for help — you want to be calling someone you already trust.
Frequently Asked Questions
How fast can Alec's Construction respond to emergency roof damage?+
Does homeowner's insurance cover emergency roof repair?+
Should I tarp my roof myself or wait for a contractor?+
What should I do first after a storm damages my roof?+
How much does emergency roof repair cost on Long Island?+
Related Articles
Storm Damage? Call Now.
Alec's Construction provides emergency roof repair across Long Island. Same-day tarping, free storm damage inspections, and full insurance claim support.
Get Emergency Help